HINDSIGHT
Released: January 2025
Platforms: PC (Windows)
Team Size: 6
Role: Game Designer
Project Length: 8 weeks
Engine: Unreal Engine 5
Download and play the game on itch.io.
ABOUT THE GAME
Hindsight is cozy puzzle game designed around the use of forced perspective. The story follows a clinical psychologist and his patient, William, who is undergoing experimental dream therapy. You are transported into the depths of William’s mind and must reconstruct his fragmented childhood memories in the hopes of rediscovering his lost spark of imagination and wonder.
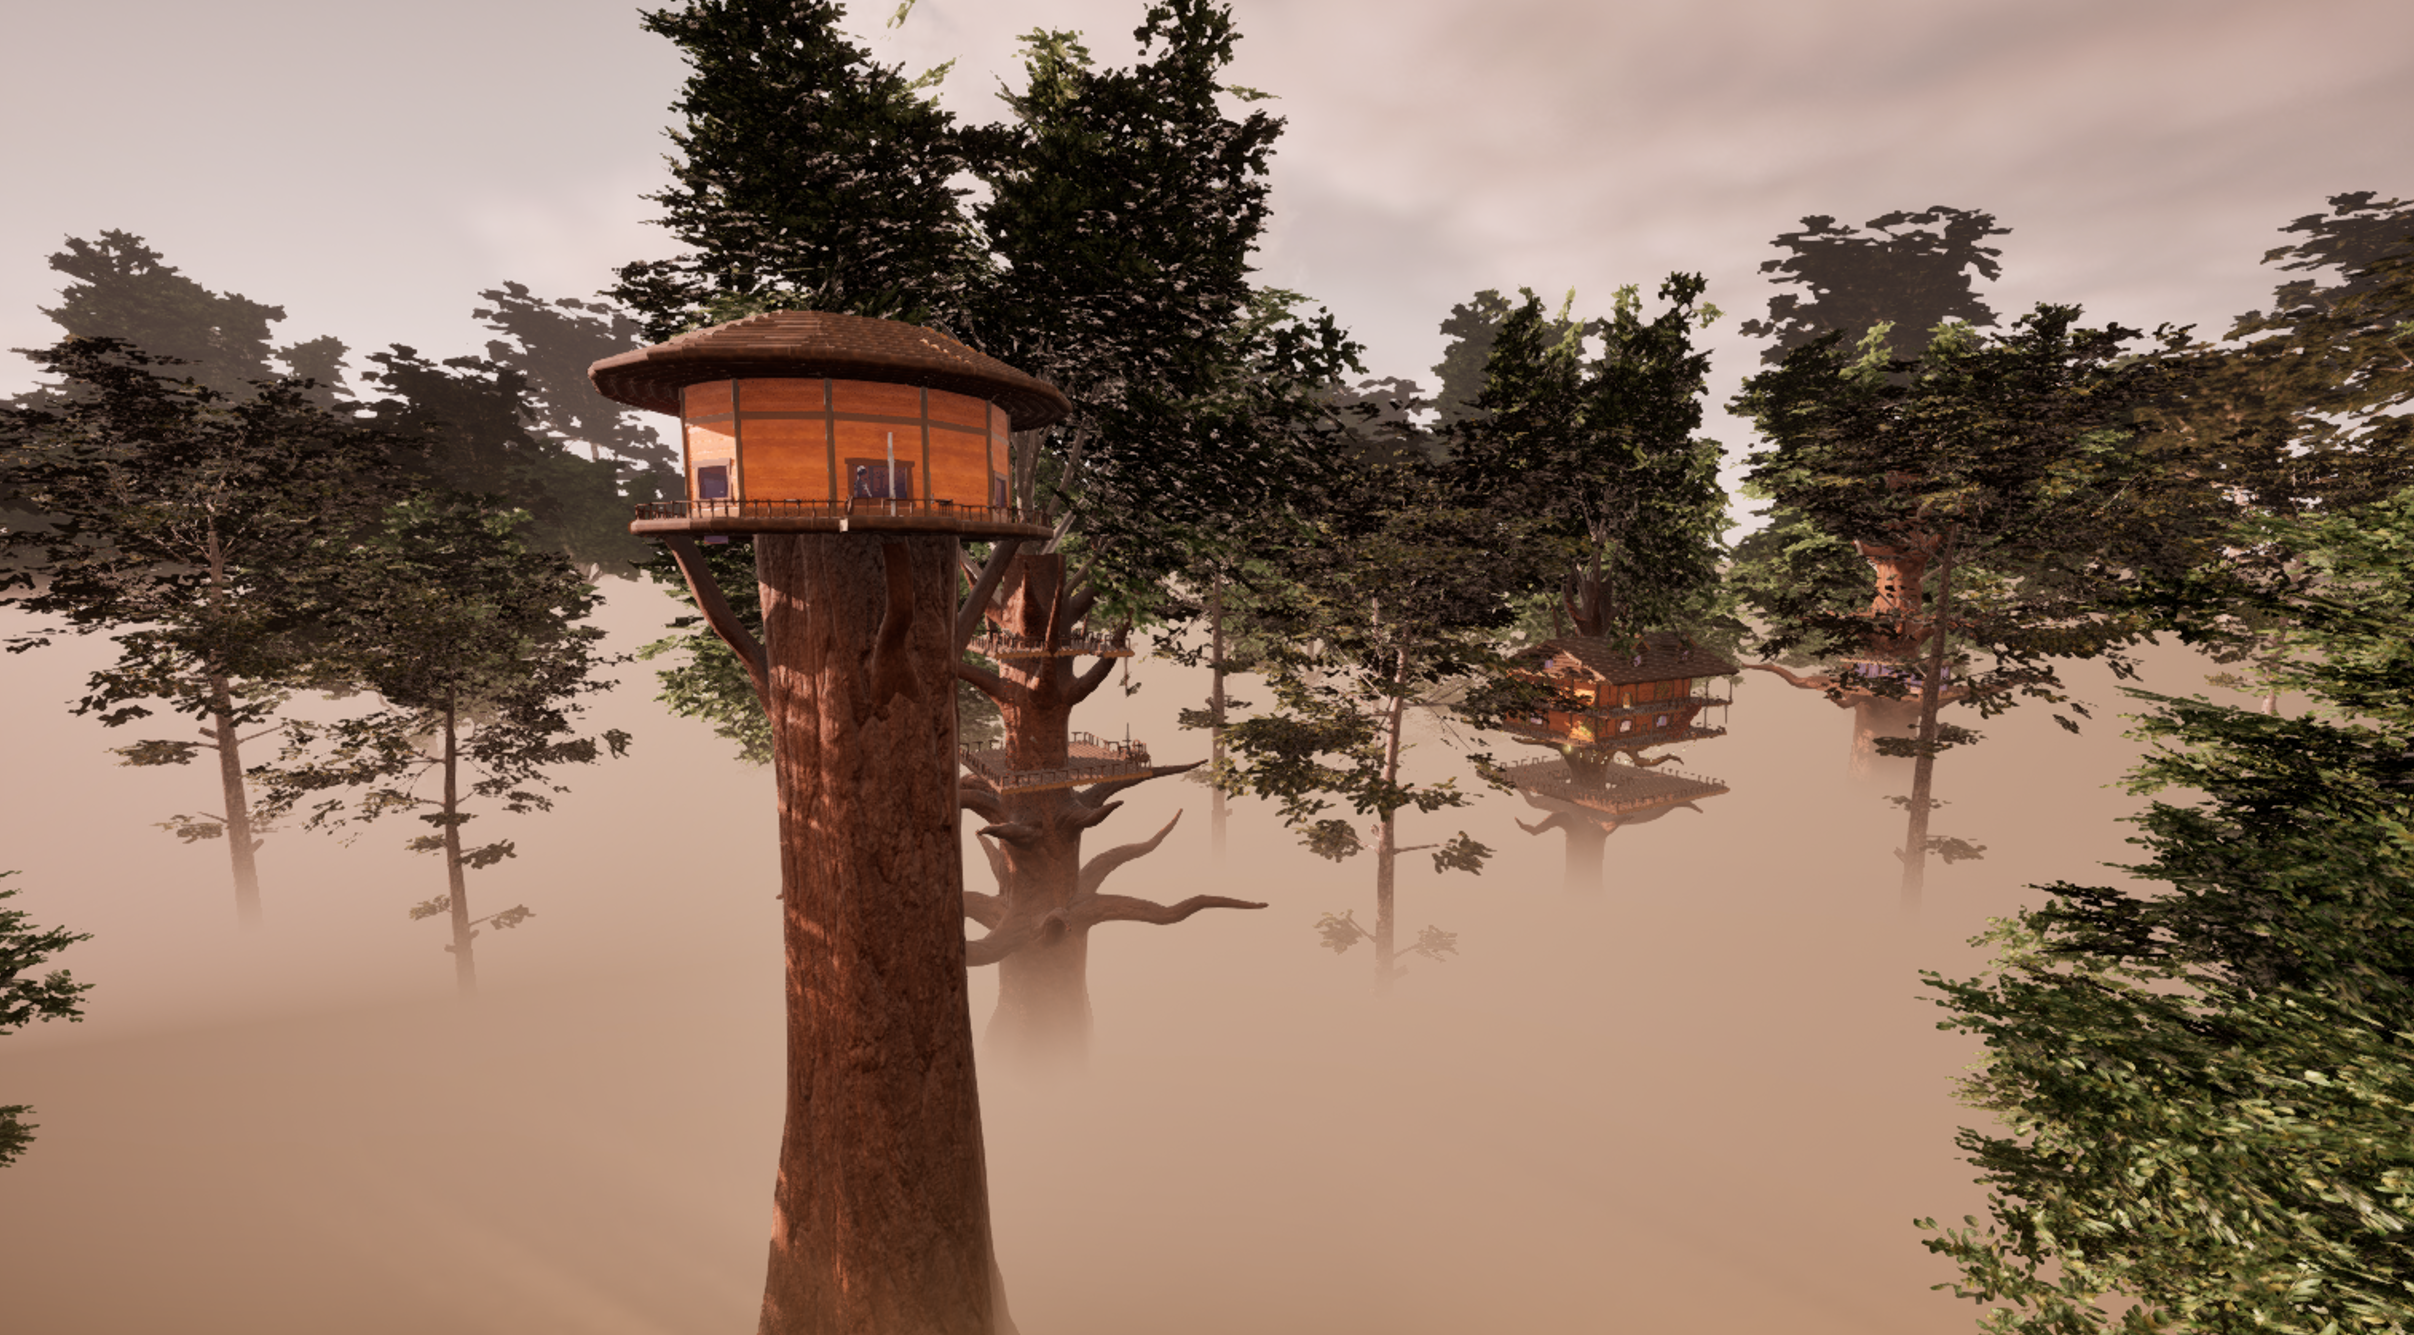
The game takes place in a surreal dreamworld comprising William's old childhood treehouse, a system of wooden platforms and structures towering high above the clouds and linked by a set of rope bridges and ziplines. The treehouse complex is divided into several individual locations, including the workshop, observatory, main house, and gazebo.
To fully reconstruct the memory, you must locate the missing components for William's time machine, hidden throughout the treehouse complex. Each component is contained within 2D decals painted onto the environment, and when viewed from the right angle, they will transform into a 3D object that can be installed into the time machine.
Summary of Contributions
• Level design (Memory Hub & Treehouse)
• UI & UX design (HUD, menus, prompts)
• Puzzle design (Treehouse)
• Gameplay mechanics (Ziplines & Ladders)
• Narrative and story concepting
DEVELOPMENT TEAM
Jonny Partridge | Level Design (Tutorial), Sound Design
Sergio Warda | Environment Artist, Level Artist
Arthur Eisenhauer | VFX Artist, Concept Artist
Jarrod Aubin | Programmer (Decal Puzzle & Time Machine Mechanics)
Tate Jenetsky | Level Design (Hub, Treehouse), UI & UX Design
Ryan Singh | Environment Artist, Prop Artist

IMAGE GALLERY
DEVELOPMENT BACKGROUND
This game was developed for my first year major work at AIE, a collaborative project that involved developing a game with a team of five other students. The team consisted of one programmer, three artists and two designers (myself included). We developed this game over the course of approximately eight weeks, with two weeks of pre-production and six weeks of production. The game itself was developed in accordance with a fictional client brief, which requested a cozy puzzle game designed around the use of perception.
Design Documentation
DESIGN PROCESS
The first task I took on was designing and building the Memory Hub level. I began by greyboxing the environment, using the in-built cube grid tool inside Unreal Engine to quickly block out the environment. Cube grid worked best for this task as the level environment was going to be flat and smooth with sharp edges, making it easy to sculpt with cubes.
Once the level geometry was built I moved onto lighting. The focus here was on obscuring the surrounding environment within a black void (to represent being inside the depths of the mind), while still providing sufficient light to highlight the stone paths and guide the player forward.
After this I implemented level scripting for the Memory Hub, which would trigger the fade in effect of the planetarium stars. This was achieved by placing two skyboxes in the level, one inside the other, with the outer skybox featuring a starry night sky and the inner skybox being completely dark. Once triggered, the inner skybox applied a translucent material over time to slowly reveal the outer one.
View from inside level editor, showing the two separate skyboxes
View from in game, showing the inner skybox fading out to reveal the outer one
Next I moved onto setting up basic HUD functionality and the UI popups for interaction prompts and indicators, allowing the player to interact with level actors such as the planetarium, memory doors and 3D objects.
Once the Hub level was finished, I moved onto the main level, the Treehouse. The first step here involved blocking out the main treehouse, which I broke down into five stages:
(1) interior space, split between first and second floors
(2) wraparound balconies for both levels
(3) rooftop/attic area
(4) tree platform underneath bottom floor
(5) stairways between first and second floors.
Early development screenshots of treehouse level greybox
With level geometry done, I moved onto lighting for the treehouse. To achieve a surreal, dreamlike atmosphere I focused heavily on the use of bloom and light shaft, particularly inside doorways and windows.
Light shaft bloom on
Light shaft bloom off
Light shaft bloom off
Light shaft bloom on
After this I tackled the design and functionality of the main menu and pause menu. These were built in UMG (Unreal Motion Graphics) including all stylisation and animations.
Main menu layout
Pause menu layout
Next I added in additional tree platforms and began blocking out the other treehouse structures, including the observatory, workshop and gazebo.
At this point the modular treehouse assets from our team’s artists began to come in, so I also started replacing the level block out with these assets.
All the 3D assets created for the project by our team’s artists, used to build the Treehouse level
I next began working on programming the movement mechanics for ziplines and ladders, as well as animating the movement of rope bridges, treehouse doors and other environmental props such as the carpet & trapdoor sequence.
At this point our team’s programmer finished working on the decal to object puzzle system, allowing me to begin implementing this into the treehouse level. This was quite a time-consuming step as the puzzle placement had to be tweaked continuously to make sure the decals were noticeable without being too obvious to the player. See “Decal Puzzles Breakdown” below for more detail on how I setup the puzzles.
After this I began designing and implementing the rest of the game UI, setting up the HUD to update objectives as well as track player progress. I also continued to populate the Treehouse level with interior art assets and environmental props as they came in from the artists.
The last major step involved implementing the time machine construction system developed by the team’s programmer, which allowed collected puzzle items to be physically installed into the time machine.
LEVEL DESIGN OVERVIEW
Memory Hub
The goal for this level was to create a peaceful, calming environment representing the inner sanctum of the mind — a place of quiet retreat and tranquility. To achieve this effect, I decided to combine smooth stone platforms with large pools of water, giving a sense of calm as the player wades through them.
The layout itself is symmetrical in nature and follows a simple hexagonal pattern, with paths branching out to doors representing separate memories. Given how symmetrical patterns convey a pleasing aesthetic to the eye, focusing on this in the level design was also intended to invoke a sense of peace and calm.
Level greybox
Final version
Treehouse
The Treehouse is the game’s main level, containing most of its puzzles and narrative content. I was responsible for designing and building the entire level from greybox to final product, including lighting, level layout and event scripting. Early on in development, the team brainstormed ideas for the environment and I proposed a treehouse complex with different platforms connected by rope bridges and ziplines.
This was an ideal environment from both a narrative and gameplay perspective: treehouses invoke strong feelings of childhood wonder and imagination, while the mix between vertical and horizontal sight lines provided greater flexibility in designing our forced perspective puzzles.
The player’s goal is to rebuild a make-believe time machine by retrieving several missing components hidden behind forced perspective puzzles. Each puzzle consists of a 2D decal of a missing component, split into separate fragments and then projected onto the environment. By viewing them from the right angle, the player can align the different fragments correctly and produce a 3D object to pick up and install in the time machine.
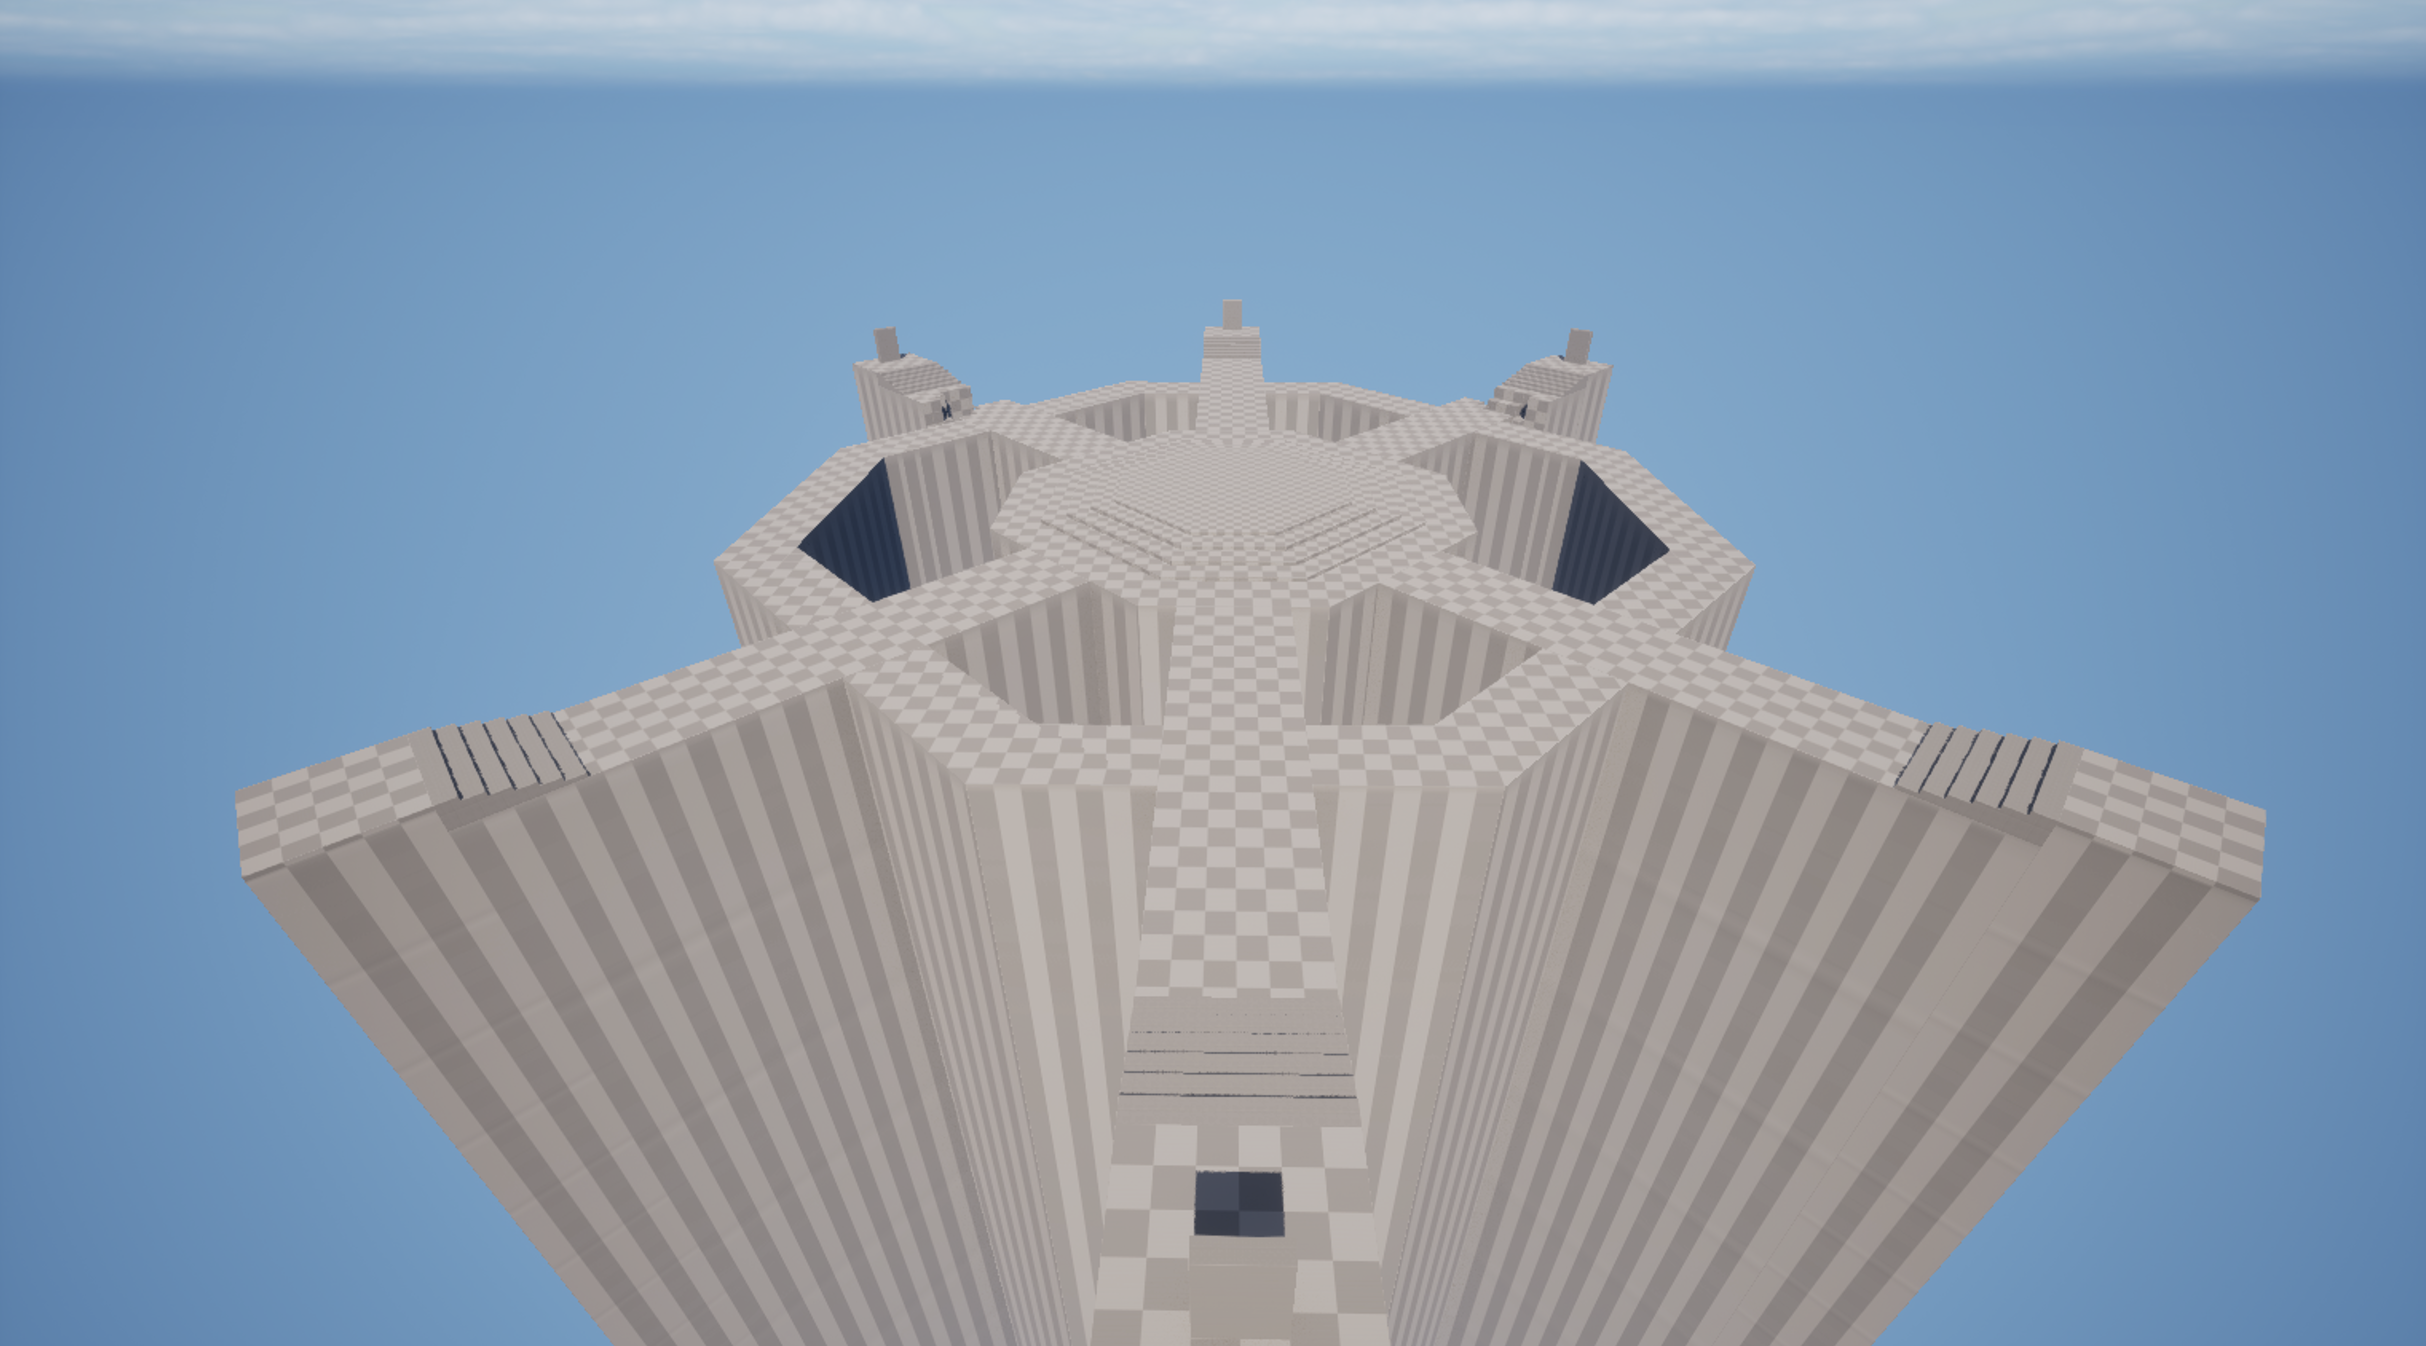
Treehouse greybox
Final version
Decal Puzzles Breakdown
Puzzle #1 - Power Box
Location: Inside main treehouse
For the power box puzzle, I placed the decal on the upper bookshelf in the corner of the first floor, to the right of where the player enters the house (when entering from the front door).
Setting up the puzzle this way was done for a few reasons:
Firstly, since the power box is coloured black and red, it created a strong contrast against the blues and greens of the books inside the shelf, making it more noticeable to the player.
Secondly, the player’s attention is naturally drawn to the right side of the treehouse as this side is less obscured by the tree trunk, and it includes both the staircase to the upper floor and the doorway leading out onto the balcony.
Lastly, from the opposite side of the house, the decal appears very stretched, but as the player moves horizontally across the balcony, it begins to contract and take shape in a way that appears very satisfying to the eye.
Puzzle #2 - Light Bulb
Location: Platform below the main treehouse
For the light bulb puzzle, I placed the decal on the underside of the treehouse’s bottom floor, attached to the logs and support beam.
I originally intended to project part of the decal on the tree branches, but unfortunately the decal would not display properly on the tree mesh due to the latter’s irregular shape.
To solve this problem, I decided to rework the puzzle so the player would need to figure out how the object itself fit into the scene:
First I added a string of identical light bulbs suspended below the treehouse, so the player would immediately draw a connection with the missing light bulb component.
I then placed these bulbs at equal intervals, but with one large gap that indicated there was a bulb missing. This gap aligned with where the decal was positioned.
All the player had to do was position themselves until the base of the light bulb decal was lined up behind the string, causing the bulb itself to appear.
Puzzle #3 - Pedestal Fan
Location: Attic
For the fan puzzle, I placed the decal in the attic, projected across the roof itself and the window frame of the house’s right dormer.
The top half of the decal was intended to be quite obvious, due to the high contrast between the white/grey decal and the light brown of the ceiling logs, while the lower half was more disguised as it blended into the window frame.
Solving this puzzle requires crouching underneath the lower part of the ceiling directly opposite the dormer. The decal was carefully positioned so standing up straight will not align the two halves properly, but there is shown to be enough space to move back further if the player crouches down.
Puzzle #4 - Lever
Location: First floor balcony
For the lever puzzle, I placed the decal onto the outside wall of the main treehouse, but with part of it also placed on the balcony pillar, which creates a noticeable gap in the centre of the decal.
My goal with this puzzle was to incorporate the zipline mechanic into the solution. While on the balcony, it becomes apparent that the only way to line up the decal properly is from a mid-air position, which is only achievable using the nearby zipline.
Solving the puzzle requires reattaching the zipline, riding it to the gazebo, and then riding it back to the house while facing towards the decal. This allows the player to line up the image properly for a brief moment, causing the object to appear.
This puzzle can be easy to miss at first, but I designed to ziplines to function both ways so the player can easily zipline back to the gazebo to reattempt it if they miss.
Puzzle #5 - Clock
Location: Observatory
For the clock puzzle, I placed the decal in the observatory, projected across the floor and the circular pedestal in the centre.
The pedestal cut out a large circular chunk from the rest of the clock decal, which gave an immediate clue that the correct viewing angle had to be from a vertical position.
I then placed a long, winding set of circular stairs, directing the player upwards to the roof. The stairs themselves formed a nice circular space in the centre that mimicked the shape of the decal.
The last clue came from the telescope, which was angled upwards and pointed towards the spot the player would have to reach the solve the puzzle.
Puzzle #5 - Circuit Breaker
Location: Gazebo
For the circuit breaker puzzle, I divided the decal into two halves and placed each onto one of the wooden support pillars inside the gazebo.
Solving this puzzle requires lining up the pillars so there are no gaps and no daylight between them, connecting the two decals like a jigsaw puzzle.
The use of light shaft bloom and shadows from the pillars helps to suggest the correct alignment for the player, along with the large, stuffed kangaroo toy that is facing the same way that the player needs to face to solve the puzzle.
I also made sure that the other corners of the gazebo were filled with props that blocked the player, which nudged them towards the correct spot as it was the only corner that could be fully stood in.
DESIGN CHALLENGES
Decal puzzles
The most challenging aspect of the game’s design was by far the placement and positioning of the decal to object puzzles. The way this mechanic worked was by placing a camera component in the level, which then took a screenshot of a selected 3D object, cut out the surrounding landscape and then pasted the screenshot across an array of selected static meshes.
The issue that arose from this was that certain static meshes did not portray the decal properly, if it all, due to how their 3D faces were sculpted. For example, when projected onto the wooden logs, the decal would often try to wrap itself around the entire circumference of the log as this was part of the same face. Irregular shapes such as the tree trunks would not display the decals properly at all.
A secondary issue was the decals would often project onto both sides of a static mesh. For example, projecting onto the treehouse wall could cause the decal to appear on both sides of the wall, instead of just the one intended.
Solving these issues was difficult and unfortunately most of these problems weren’t completely eliminated. Instead I worked to try and mitigate them as best I could, using a few different techniques:
Any part of the decal that showed up in an unwanted place (such as both sides of a wall), were relatively easy to hide from view by using environmental props like desks or tree branches.
Reducing the number of static meshes used to project the decal was also helpful, as although it simplified the puzzle it prevented the decal from becoming too warped or disintegrated and overall more satisfying to identify and solve. Some puzzles, such as the power box, only used a single mesh (the bookshelf), yet the projected decal turned out much better than if it had used multiple meshes.
Some puzzles required complete rethinking, such as the light bulb puzzle. Instead of projecting it onto the tree trunk as intended, I added the hanging lights feature and incorporated the puzzle as a missing part of the scene itself.
Choice of level environment
Although the team decided early on to base the game around forced perspective puzzles, we struggled with how to approach the level design. We cycled through several different ideas, including a bedroom, a school classroom and a forest campsite, but found these to be either unappealing or unworkable.
I managed to solve this dilemma by suggesting a treehouse setting. My reasoning was that it provided a mix of both manmade and natural spaces, kept the scope of the level small, and also naturally lent itself to both horizontal and vertical sight lines that would work well with our forced perspective puzzles. This idea was well-received by the rest of the team and we settled on this our main level environment.
Originally we intended to keep the player space confined to the treehouse interior, but I felt that this was at odds with our environment design - if the player space is just four walls and a roof, there was not much difference between it taking place high up in the trees than on the ground in a home bedroom or living room.
For this reason, I pushed to have the treehouse level split into separate areas, where the player would make use of bridges and ziplines to navigate around the treetops. I felt this would also give an added sense of satisfaction while gliding over the clouds or gazing out at the tree line, which was an important part of our game's aesthetic, aimed at invoking that sense of carefree, childlike wonder and amazement.
Puzzle hints and level flow
Early on during playtesting we found that players struggled to track down where puzzles were located and were also confused while trying to navigate through the level.
To fix these issues, we implemented a few important changes:
Paintings of each missing piece of the time machine were placed near where the corresponding puzzle was located. This gave a hint to the player of which part to look out for as they moved around the area.
Ziplines were originally one way and had to be hooked up first from one side before they were functional. This made navigating the level slower and more inefficient, so I reworked the zipline mechanic so they could be attached and used from either end.
Signs were also placed in each area of the treehouse as well as beside zipline attach points. These helped to identify where the player was and where each zipline was connected.
Paintings of the missing time machine parts hint at their location
Signs beside ziplines help the player navigate to where they want to go.